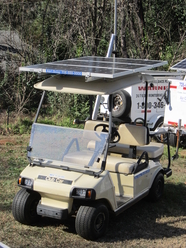
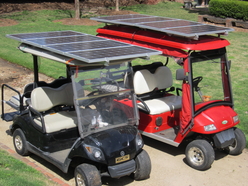
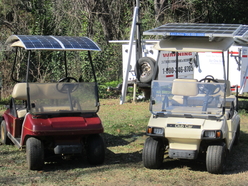
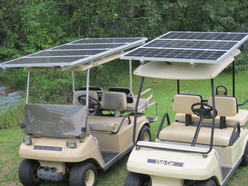
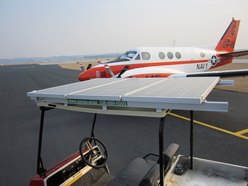
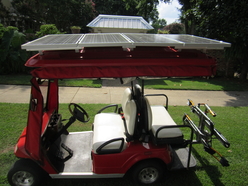
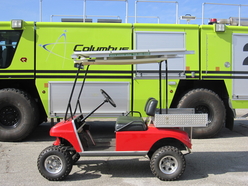
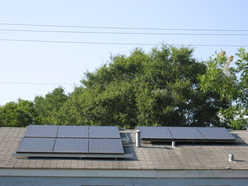
The Air1 Solar AS400W48 & AS300W36 Solar Powered Golf Cart Kits.
All you need are a few tools and a drill.
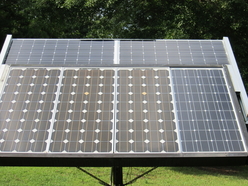
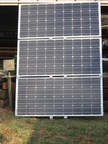
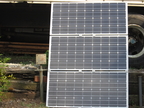
Complete
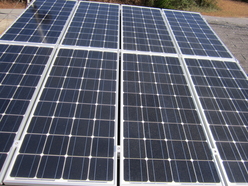
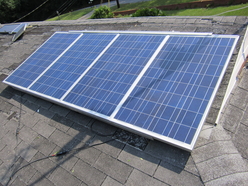
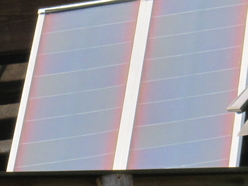
solar powered golf cart kits. Includes 100 watt
mono-crystalline solar panels. 1 25 amp charge controller. All
cables needed to hook-up to solar panels & batteries. All mounting
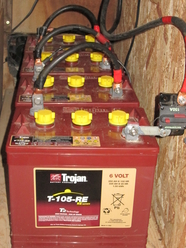
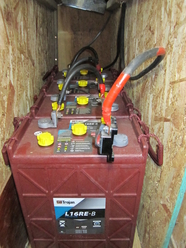
rails & hardware included. Batteries NOT Included. This charge controller has been documented bringing bad batteries back to life.This kit may not cure your BAD BATTERY problems but, this controller conditions the batteries without gassing them and micro equalizes on every charge and can increase battery life up to 75%. The batteries chemical process actually control the charging. Before buying this kit, have your batteries
checked so you can see the results for yourself.
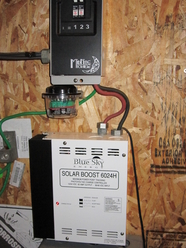
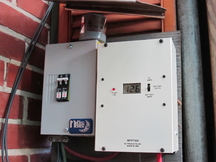
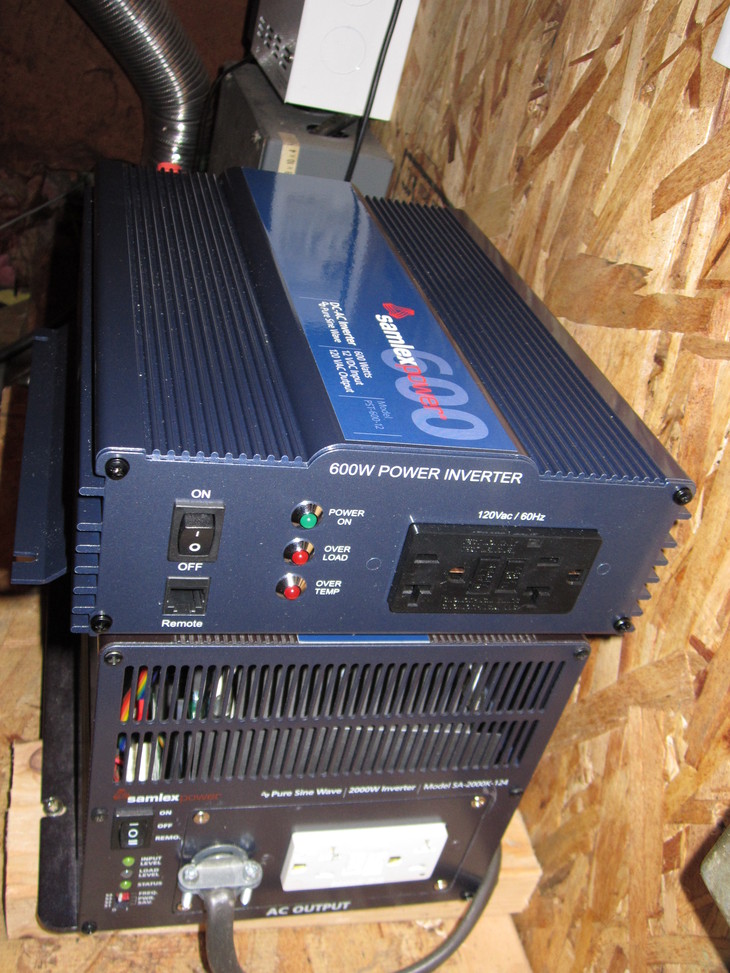
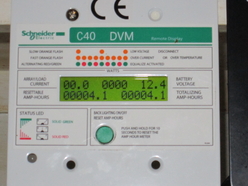
The charge controller is 99.5% efficient. Everything you need is
included. It should take 4 to 6 hours to completely install this kit.
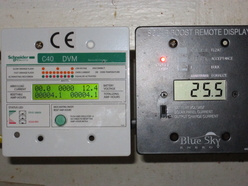
Digital voltmeter included, lets you park in the optimum position for improved charging.
If you don't have the technical knowledge and skill to install this kit,
Please Go to a Professional!
DO NOT INSTALL THE SOLAR PANELS IN THE SUN! THE PANELS ARE MAKING POWER IN THE SUN AND CAN CAUSE A FIRE, INJURY OR WORSE!
We assume no liability or responsibility for any installation or use of this kit in any way.
Make
sure the cart is turned off and no load is on the fully charged
batteries. Cart should have brakes applied and no combustible materials
or liquids in the area.
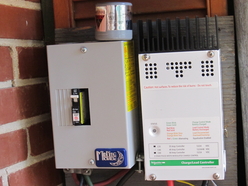
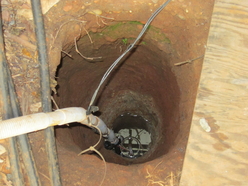
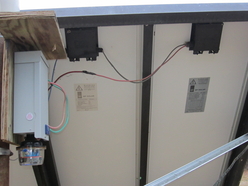
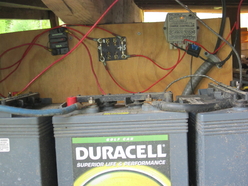
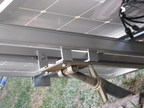
Find a place in the battery compartment
to mount the charge controller. Make sure all leads including the solar
panel connectors,
will reach when picking the spot. Connect the 2 negative wires to the
negative battery terminal. Next connect the disconnect breaker in the
off position to the
positive terminal. It will spark a little on connecting. You might need a
stand-off terminal on some batteries.
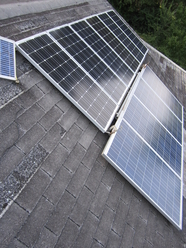
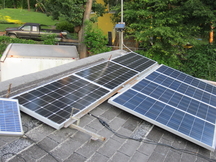
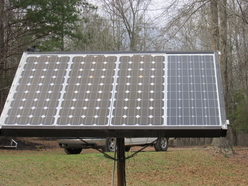
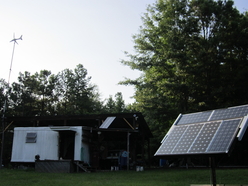
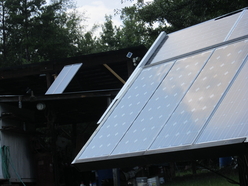
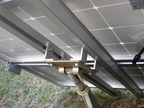
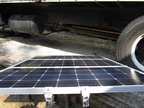
Find the center of
the roof. Lay out the rails to size up placement and overhang if
desired. Use the foam from the solar panel box as a template for
spacing. Connect the L feet to the rails hand tight. for best results
position L feet in the center at the lowest position and the front and
rear at the highest position. Drill the holes as close to the front and
back for greater flexibility, such as an overhang in the back. Use the
end rail clamps to position the center panels for position. Substitute
with mid rail clamps when adding the other panels. Add front and rear
panels and lock down with the end rail clamps. Some rail kits are longer
than shown in photo. If the rails don't reach, longer bolts with
washers or vibration isolators can be added to accommodate your roof.
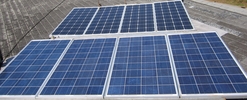
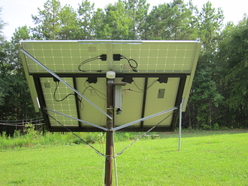
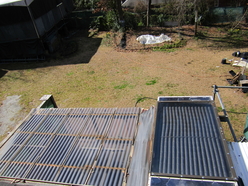
Connect the panels in series starting with the shortest MC4 cable to
it's mate to make sure all connectors will be long enough. Make sure you
have the series connections right before connecting. It takes a special
tool to unplug them easy! We recommend to install panels in the
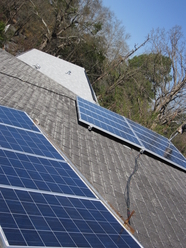
evening out of the sun and in the morning look for the green light. Park in the sun and check the meter for optimum angle.
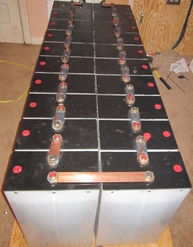
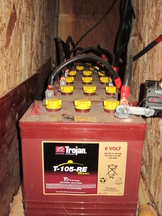
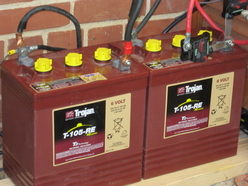
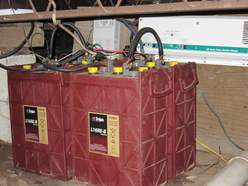
This kit is perfect for golfing, urban use and especially hunters. It even brought these old batteries (shown) back to life without having to plug in the AC charger for weeks. 6 hours of full sun is required for best results. Morning sun towards solar noon till 3pm or 4pm is desired. The setting sun is further away and has less charging power.